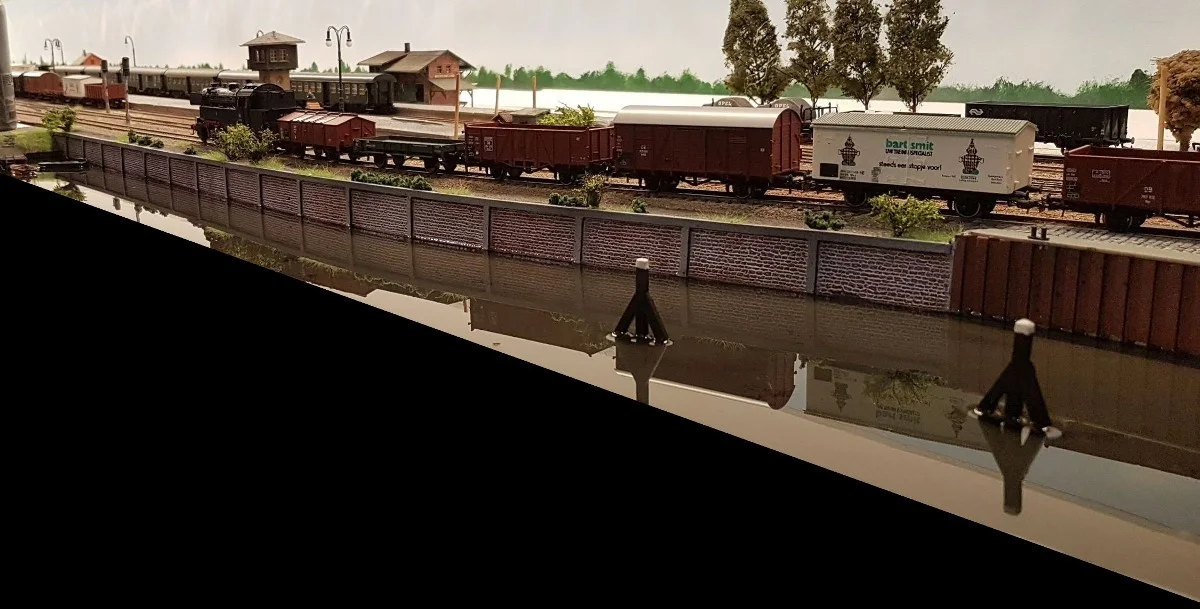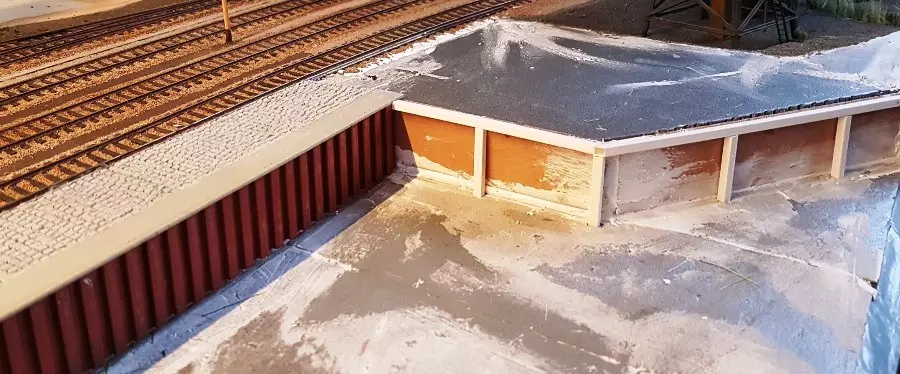
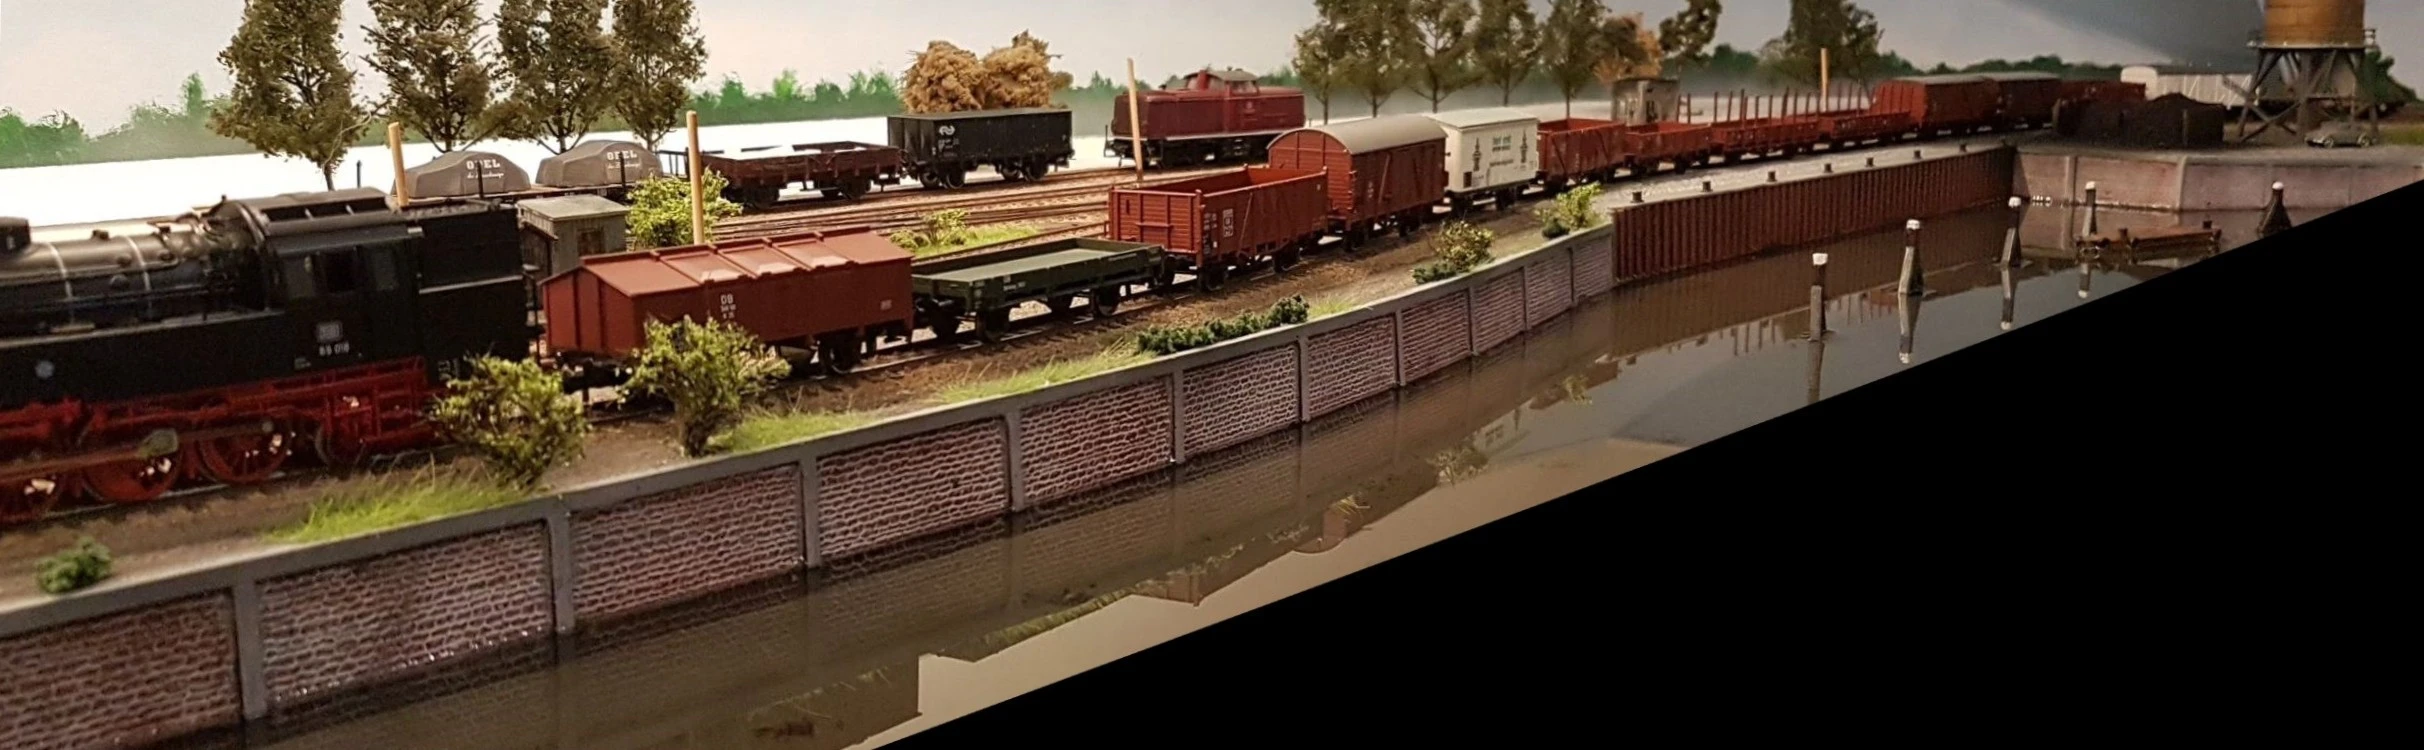
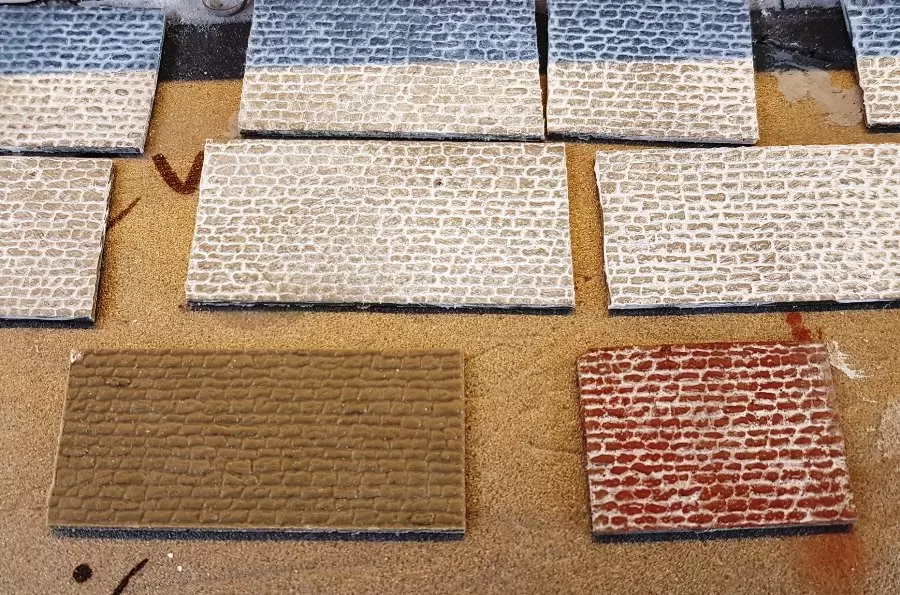
In the very first plan, I took into account that there are differences in height. Think of a railway embankment with a ditch next to it, and of course, this harbour as well. A Faller retaining wall was indicative of the difference in height between the tracks and the water surface. To make believable water, the depth of it does not need to be more than a few millimeters at most. The Faller retaining wall was ready-made, apart from perhaps some weathering. The harbour wall was made with plastic brick patterns that I still had lying in a box. I do not know if they are for HO or N gauge. Often, the stones of HO wall panels are much too large. Bricks measuring half a meter are not uncommon. A size that is a bit visually accurate is much more fun. The concrete edges are made of 4x4 mm styrene. These will get a concrete colour.

For the dock wall, I made a loading platform. For this, I normally use Das from the toy store. However, I found something similar, (Deco Modelling Clay), in a gray color at Action. This one seems even easier to work with because it sticks less. First, apply some wood glue for good adhesion, then roll out the clay with a rolling pin. Smooth it out with a wet finger if necessary. Then press the bricks into the clay with a brush from which the hairs have been removed. After drying, it can be painted in the desired colors. First, do the joints again and then dry wash.


Before pouring the water (resin), you should carefully consider what you want to add, such as the small pier next to it, which is also made of balsa wood and a few matchsticks glued together. Once the resin is poured, there is no turning back. Any boats should also be ready to be placed in the water immediately after pouring. However, be aware that the boats may not float on their own. Make sure to place something under the boat to keep it at the correct height in the resin. Greenery can be added later, as long as it is not in the water, such as possibly some reeds.